
切換到要匯出設定檔的路徑,輸入export file=檔名
例如:
export file = dhcp-server-lease
接著在Files List下就會看到剛剛的dhcp-server-lease.rsc檔,把它拉到桌面用文字編輯器就可進行編輯

/ ip firewall filter
add chain=input connection-state=established comment="Accept established connections"
add chain=input connection-state=related comment="Accept related connections"
add chain=input connection-state=invalid action=drop comment="Drop invalid connections"
add chain=input protocol=udp action=accept comment="UDP" disabled=no
add chain=input protocol=icmp limit=50/5s,2 comment="Allow limited pings"
add chain=input protocol=icmp action=drop comment="Drop excess pings"
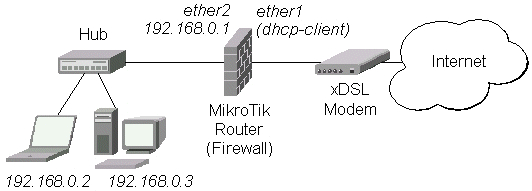
add chain=input in-interface=ether2 src-address=192.168.0.0/24 comment="From our LAN" action=accept
add chain=input action=log log-prefix="DROP INPUT" comment="Log everything else"
add chain=input action=drop comment="Drop everything else"


 |
| 圖片來源:MikroTik官方網站 |
/interface enable ether1,ether2

/ interface pppoe-client
add interface=ether1 user="seednet" password="seednet" \
add-default-route=yes use-peer-dns=yes disabled=no


/ip address add address=192.168.0.1/24 interface=ether2


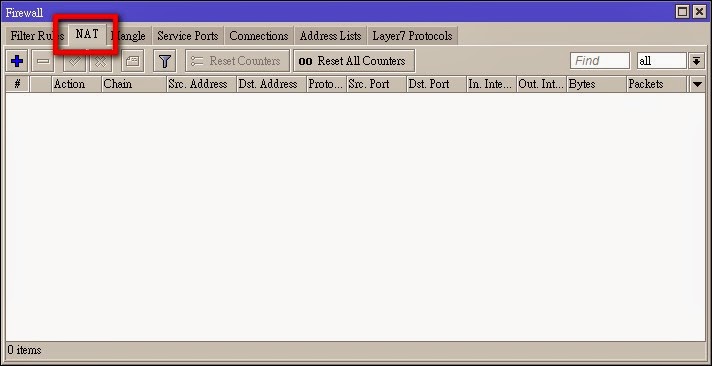
/ip firewall nat add chain=srcnat src-address=192.168.0.0/24 action=masquerade


/ ip firewall filter
add chain=input connection-state=established comment="Accept established connections"
add chain=input connection-state=related comment="Accept related connections"
add chain=input connection-state=invalid action=drop comment="Drop invalid connections"
add chain=input protocol=udp action=accept comment="UDP" disabled=no
add chain=input protocol=icmp limit=50/5s,2 comment="Allow limited pings"
add chain=input protocol=icmp action=drop comment="Drop excess pings"
add chain=input in-interface=ether2 src-address=192.168.0.0/24 comment="From our LAN" action=accept
add chain=input action=log log-prefix="DROP INPUT" comment="Log everything else"
add chain=input action=drop comment="Drop everything else"
/ip dhcp-server setup


/ip dns set allow-remote-requests=yes


